Luster Leaf Rapitest pH Soil Tester (1612)
Price/Ea.
$17.68
Buy 2 or more: $15.46 each
Have a Question? Ask Our Pros!
Email Our Pros
We're here to help
Offline. Leave Us a Message
You May Also Need
-
Product Overview
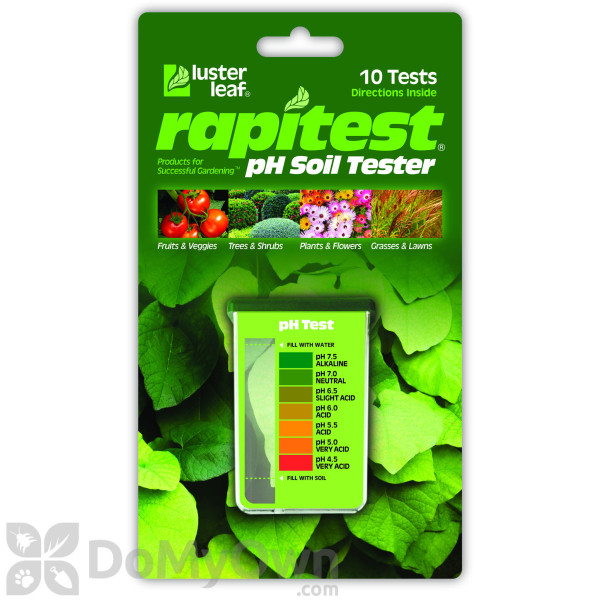
The Luster Leaf Rapitest pH Soil Tester (1612) will help you test soil pH by using a unique patented comparator test system. It’s an easy to use capsule system and color comparator that comes with a removable film color chart. This chart includes a list of pH levels for more than 100 plants. Each pack contains 10 tests along with complete instructions that can be used as reference for adjusting the soil’s condition. This tester guarantees a fast and accurate result.
-
Details
For use in Soil Testing Application * See label for compete testing instructions Shipping Weight 0.40 lbs Manufacturer Luster Leaf Products, Inc. (Mfg. Number: 1612) UPC 035307016126 WHEN TO TEST YOUR SOIL
Testing your soil should be routine when preparing beds (Fall), before planting (Spring) and periodically during the growing season.PREPARING YOUR SOIL SAMPLES
For lawns, annuals or house plants, take the soil sample from about 2-3” below the surface. For perennials, shrubs, vegetables and fruit, the sample should be from 4” deep. Avoid touching the soil with your hands. Test different areas of your soil, as it may vary according to past cultivation, underlying soil differences or a localized condition. It is preferable to make individual tests on several samples from different areas, than to mix the samples together. Place your soil sample into a clean container. Break up the sample with a trowel or large spoon and allow it to dry out naturally. This is not essential, however it makes working with the sample easier. Remove any small stones, organic material such as grass, weeds or roots and hard particles of lime. Then crumble the sample finely and mix it thoroughly.
NOW YOU’RE READY TO MAKE YOUR pH TEST:
- Remove the cap from the comparator and take out the package of capsules. Make sure the color chart (film) is in place.
- Fill the test chamber to the soil fill line with sample soil.
- Holding the capsule horizontally over the test chamber, carefully separate the two halves of the capsule and pour powder into the test chamber.
- Using the dropper provided, add water (preferably distilled) to water fill line.
- Fit the cap onto comparator, making sure it is seated properly and caps tightly. Shake thoroughly.
- Allow soil to settle and color to develop for about a minute.
- Compare color of solution against pH chart. For best results allow daylight (not direct sunlight) to illuminate the solution.
CLEANING & STORAGE
Dispose of the test solution by rinsing down the sink. Remove the color chart. Wash the comparator and cap in warm, soapy water immediately after each use. Make sure any sediment or color staining is removed. Rinse well and dry. Replace the color chart on the comparator. The poly bag of capsules should be stored inside the comparator, after it has been washed and dried. Replace all the components back into the package. The slide blister has been designed to be reused as a storage container. Store your kit indoors in clean, dry conditions.
-
Product Documents
-
Customer Reviews
-
Questions & Answers